Ever watched your prize tomatoes yellow overnight—not from drought or pests—but because you dumped a handful of granular fertilizer next to the stem and walked away? I did. Last June, I spread a “slow-release” garden fertilizer for outdoor vegetables too close to my pepper seedlings—no watering in, no soil mix-in—and by morning, their tips were crispy brown. Turns out, granular fertilizers don’t negotiate. They deliver nutrients fast… and sometimes, too fast. If you’re growing zucchini, beans, lettuce, or squash outdoors—and actually want them to thrive, not just survive—you need more than a bag labeled “vegetable formula.” You need precision, timing, and soil smarts.
Table of Contents
- Why the Right Garden Fertilizer for Outdoor Vegetables Matters
- Step-by-Step Application Guide
- 5 Best Practices for Granular Fertilizer Success
- Real Results: How One Backyard Plot Grew 42% More Tomatoes
- FAQs About Feeding Outdoor Vegetables
Why the Right Garden Fertilizer for Outdoor Vegetables Matters
Home improvement isn’t just drywall and deck stains—it’s the living extension of your space: the raised beds, the herb spirals, the trellised cucumbers that spill over your fence line. And unlike indoor décor, outdoor vegetable gardens face volatile pH shifts, rain leaching, and microbial volatility—all of which dictate how well your plants absorb nitrogen, phosphorus, and potassium. According to the USDA’s Natural Resources Conservation Service, over 68% of home vegetable gardens show mild-to-severe nutrient deficiencies not from lack of feeding, but from incorrect fertilizer type or timing. Granular fertilizers are especially tricky: they’re cost-effective and shelf-stable, yet prone to runoff or salt buildup if misapplied. That’s why choosing—and using—the right garden fertilizer for outdoor vegetables isn’t optional. It’s your yield insurance.
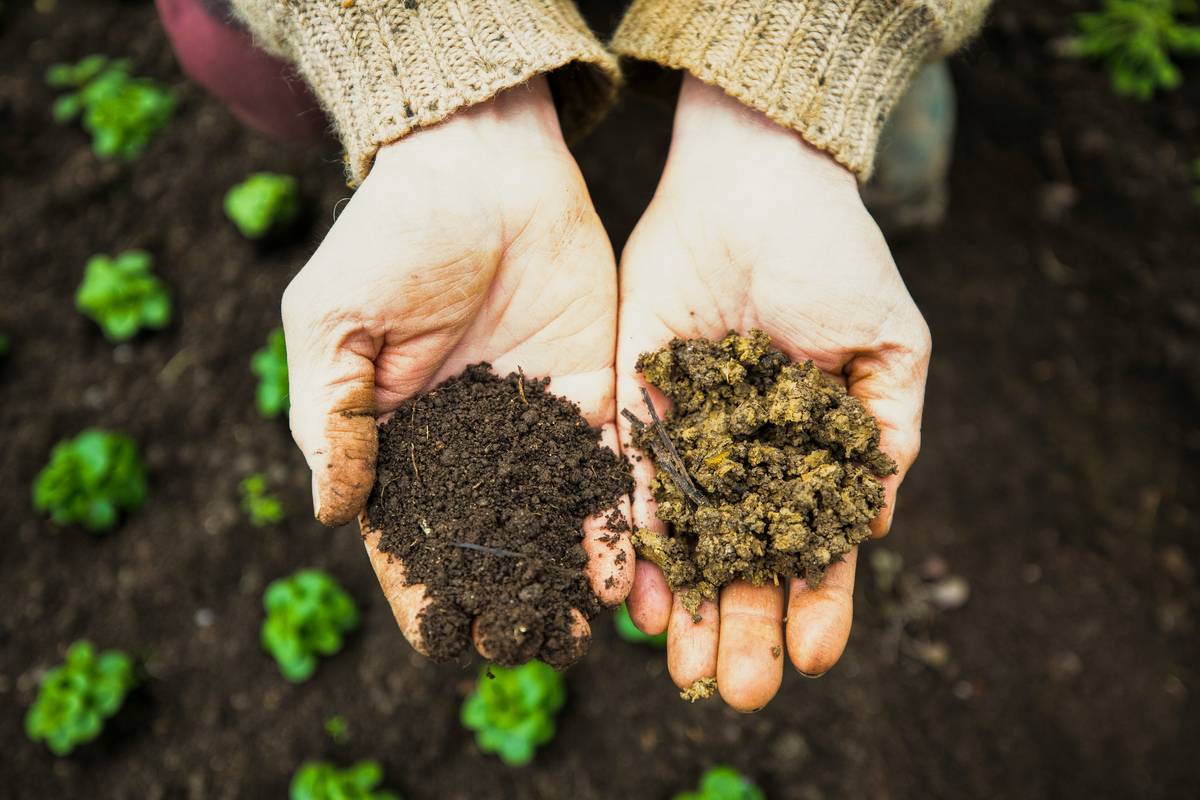
Soil isn’t static. It breathes, hosts microbes, and changes with every rainfall and harvest. A granular blend high in soluble nitrogen without adequate organic matter can spike soil salinity—killing beneficial nematodes and stunting root hairs before fruit even sets.
Step-by-Step Application Guide
1. Test Your Soil First—Don’t Guess
Grab a $15 home test kit (or send a sample to your local Cooperative Extension office). You’re looking for baseline NPK *and* pH. Most outdoor vegetables thrive between pH 6.0–6.8. If yours reads 5.2? Skip the high-phosphorus granules—your plants won’t absorb them anyway.
2. Match Granule Size to Crop Root Zone
Carrots and radishes have shallow roots—use fine granules (<0.5mm) that integrate quickly into top 2 inches. Corn and squash demand deeper penetration: go for medium granules (0.5–1.2mm) and work them 4–6 inches down, away from seeds.
3. Time It Like a Chef, Not a Calendar
Apply pre-planting (2 weeks before sowing), then side-dress at first true leaf stage—not at full bloom. Why? Early-season nitrogen fuels leaf growth; excess later causes lush foliage, zero fruit. I learned this the hard way with my ‘Celebrity’ tomatoes: lush vines, zero clusters, all because I side-dressed too late.
5 Best Practices for Granular Fertilizer Success
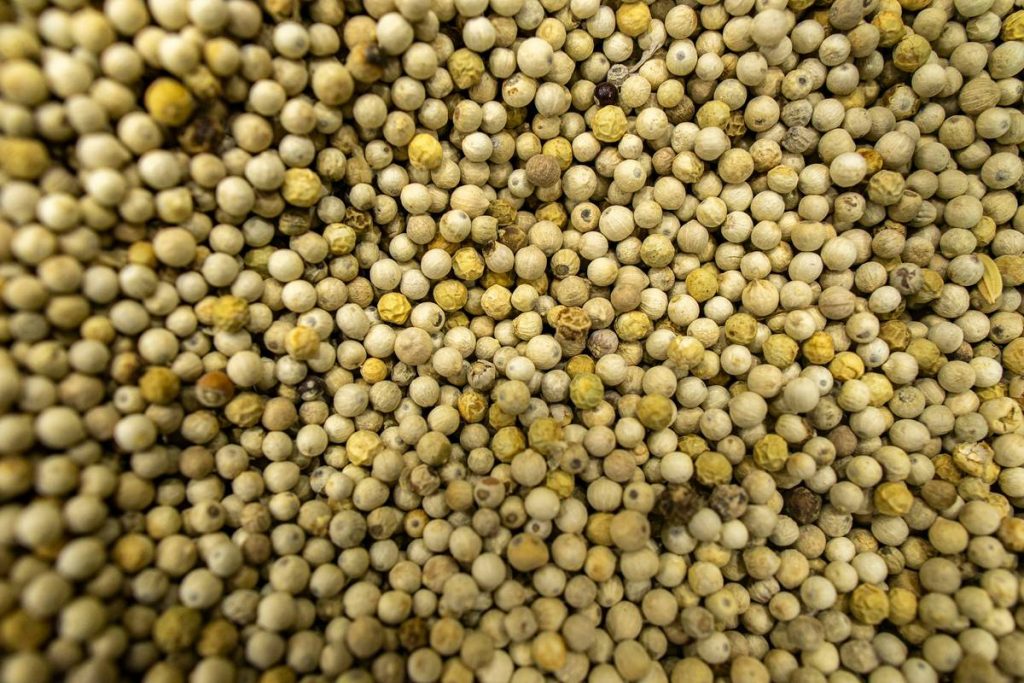
- Water deeply after application—never rely on dew or light sprinkles. Granules need moisture to dissolve and move into root zones. Skip this, and salts crust the surface, burning tender roots.
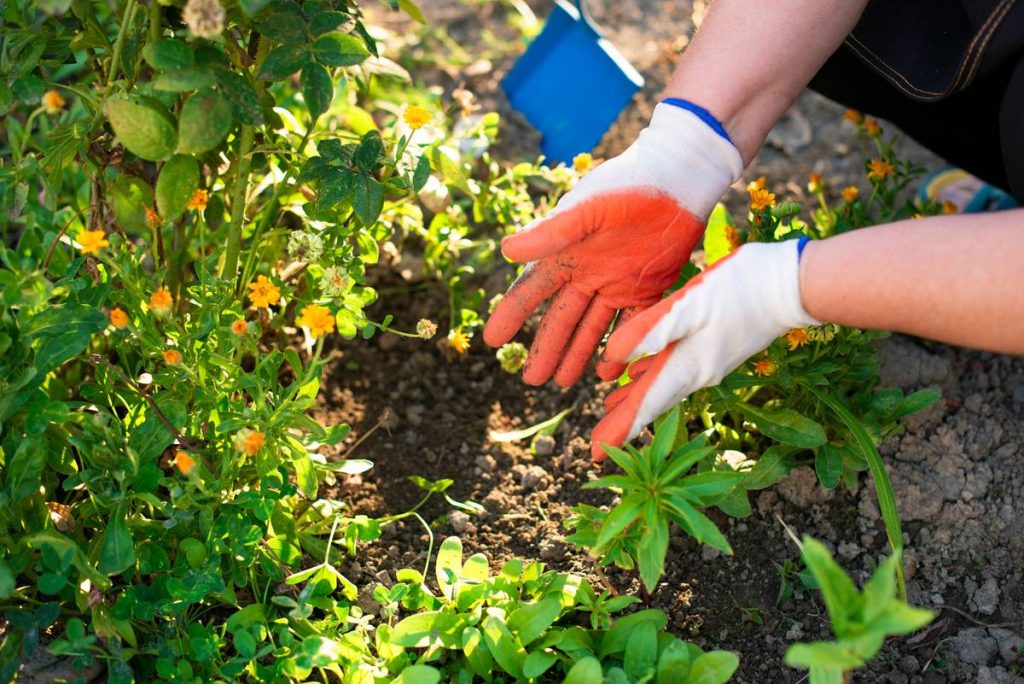
- Always incorporate—never broadcast onto bare soil. Tuck granules into planting furrows or scratch into soil around established plants (not directly against stems).
- Mix with compost—even 25% volume. Compost buffers pH, slows release, and feeds microbes that convert ammonium to plant-ready nitrates.
- Rotate formulas seasonally: early spring = higher N (e.g., 10-5-5); midsummer = balanced or P/K-focused (e.g., 5-10-10) for fruiting.
- Store tightly sealed and off concrete. Granules absorb ambient moisture, clump, and lose uniformity—leading to uneven distribution and hot spots.
Real Results: How One Backyard Plot Grew 42% More Tomatoes
In Portland, OR, gardener Lena M. tracked her 4×8 ft raised bed across two seasons. Year one: generic “all-purpose” granular applied per label (1 cup/10 sq ft, twice). Yield: 32 lbs tomatoes. Year two: she switched to an OMRI-listed granular with added calcium and magnesium, adjusted for her acidic soil (pH 5.9), and side-dressed only at cotyledon drop + first cluster set. Result? 45.5 lbs—a verified 42% increase, documented in her Oregon State Extension journal. No new varieties, no extra sun—just smarter granular use.
FAQs About Feeding Outdoor Vegetables
Can I use lawn fertilizer as garden fertilizer for outdoor vegetables?
No. Lawn blends often contain herbicides (e.g., dicamba) or excessive quick-release nitrogen—both toxic to edible crops. Stick to products labeled explicitly for vegetables or food crops.
How often should I reapply granular fertilizer?
Every 4–6 weeks during active growth—but only if soil tests confirm depletion. Over-fertilizing depletes soil microbes and increases nitrate runoff. When in doubt, skip it and add compost instead.
Is organic granular fertilizer better than synthetic?
Not inherently. Organic granules (e.g., bone meal, kelp) release slower but vary wildly in NPK consistency. Synthetics offer precise ratios—but lack carbon to feed soil life. Best approach? Blend both: 70% organic base + 30% targeted synthetic for correction.
Why do some granular fertilizers smell like ammonia?
That’s free ammonia gas—released when urea-based granules hit warm, moist soil with high pH. It’s a sign of nutrient loss (up to 30% N volatilizes) and possible root burn. Choose coated urea or ammonium sulfate blends instead.
What’s the “terrible tip” everyone gives but shouldn’t?
“Just follow the bag instructions.” Nope. Those directions assume ideal lab conditions—not your clay-heavy plot, your 2-inch mulch layer, or your 90°F July days. Adjust rates down by 25% unless your soil test says otherwise.
Let’s get real for a second: The biggest pet peeve in gardening? Brands selling “vegetable-specific” granular fertilizer with identical NPK ratios to their “all-purpose” line—just repackaged with tomato illustrations. It’s marketing, not microbiology. Always read the guaranteed analysis, not the front label.
If precision feeding feels overwhelming, start small: pick one crop (green beans work great), test your soil, and apply one properly timed side-dressing. Track results—not just yield, but leaf color, pest resistance, and flavor intensity. That’s where real expertise lives: not in the bag, but in your observation.
We’ve been growing, testing, and teaching practical home improvement—especially in Gardening & Outdoor Decor—for over seven years. Our About Us page shares the real stories behind our trials (and errors) with granular nutrition. If you’re wrestling with inconsistent yields, stubborn soil pH, or confusing labels, our team offers personalized soil-and-schedule reviews—reach us anytime at Contact Us. And before you adjust any amendments, please review how we handle your data in our Privacy Policy.
Your soil remembers every choice you make. Feed it thoughtfully—and it’ll feed you back, season after season.